Lockheed RF-104G Starfighter - Luftwaffenversorgungsregiment 1 (LVR1) -
Hasegawa 1/72
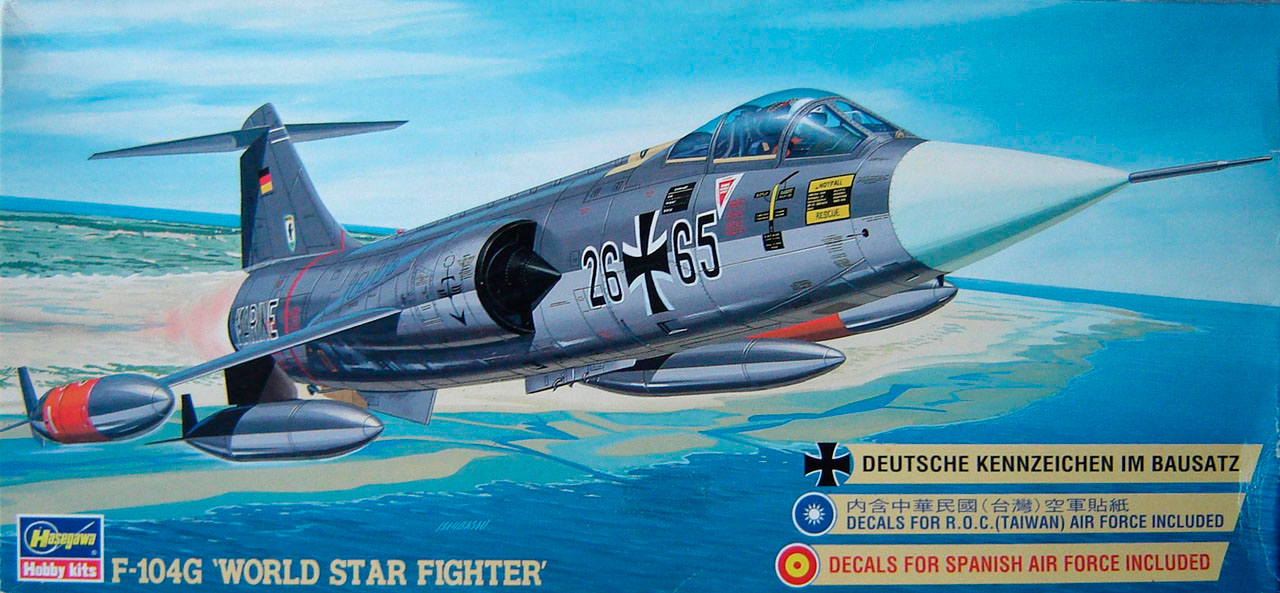
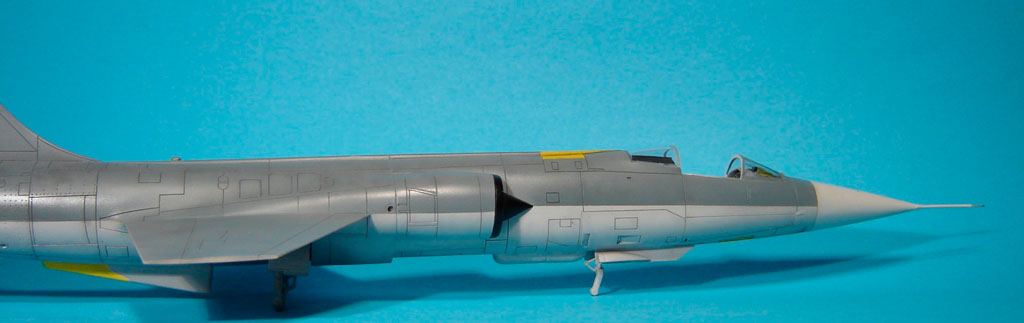
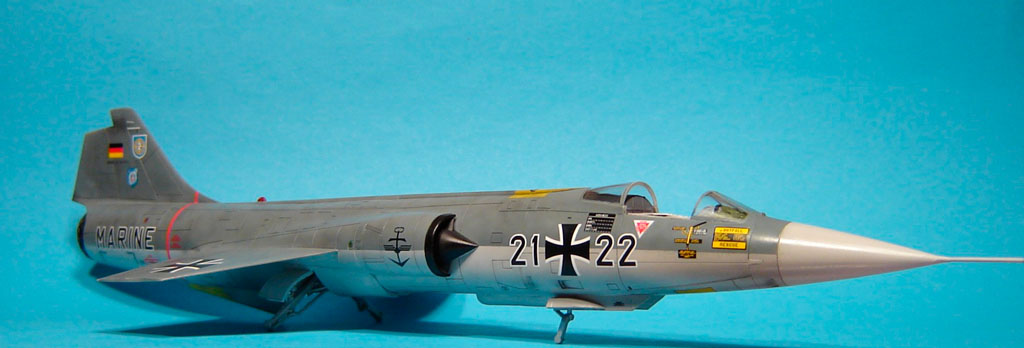
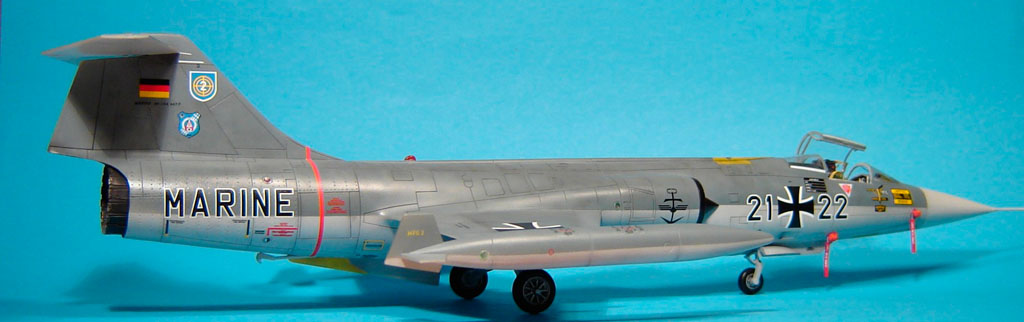
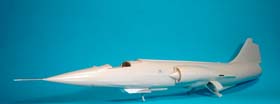
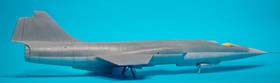
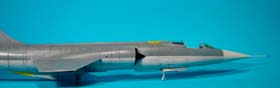
Starting from "the classic" Hasegawa 1/72 kit, I chose to make the tactical reconnaissance version of the Starfighter. The German Navy colour can be "unoriginal" for the F-104 model kit but this version is rarely seen.
Here is an overview that covers the specifics of this version and some way to achieve it.
The subject was initially presented in the ARC website forum in 2010 on the occasion of a Group Build dedicated to “The Missile with a Man in it".
Further specific changes, you will find general points to make a Starfighter from the excellent Hasegawa model , always edited for many years.
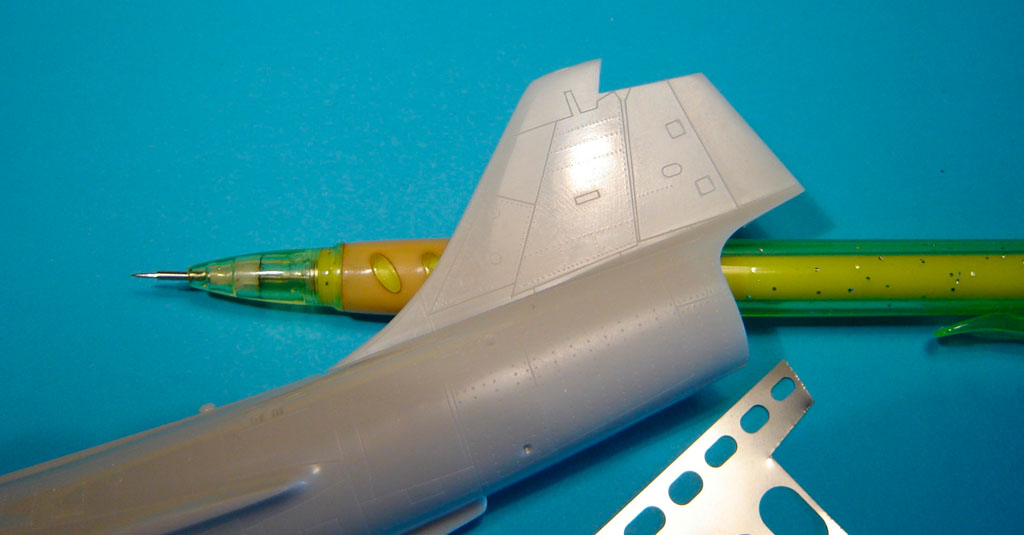
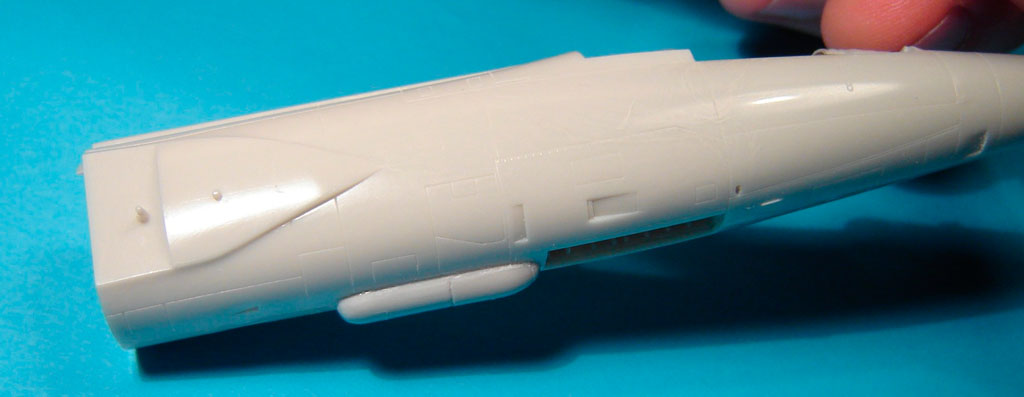
Fuselage Preparation

With help of a needle in a pen, and a Hasegawa Temple set, I start to engrave more panel lines.
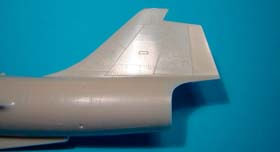
A Side Oblique Camera KS-87B goes in a window in the side of the fuselage (cannon armament was deleted in this version)
I used (and abused) Micromesh 6000, 8000 to 12000 to prepare the fuselage.

The J-79-GE-11A
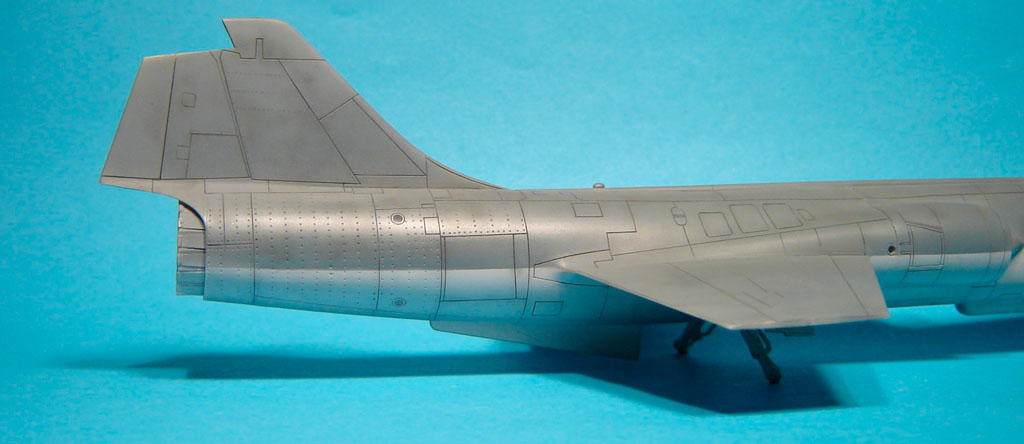
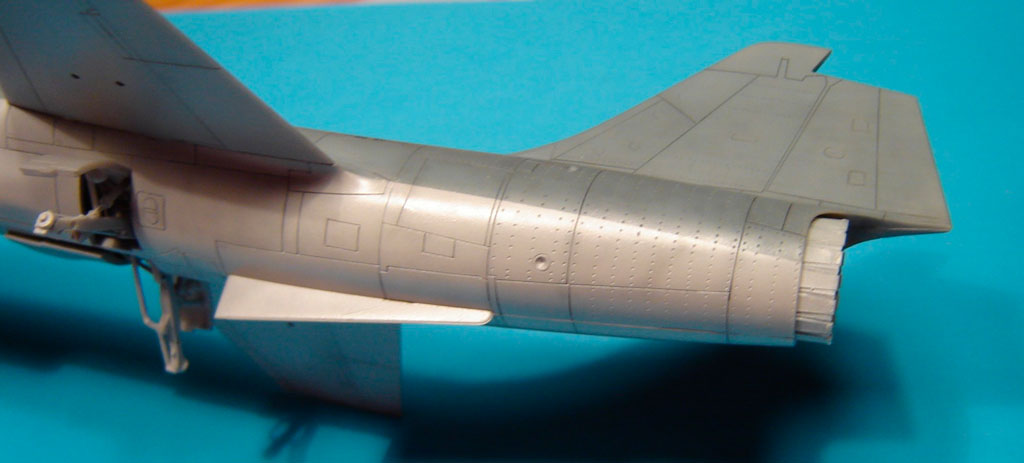
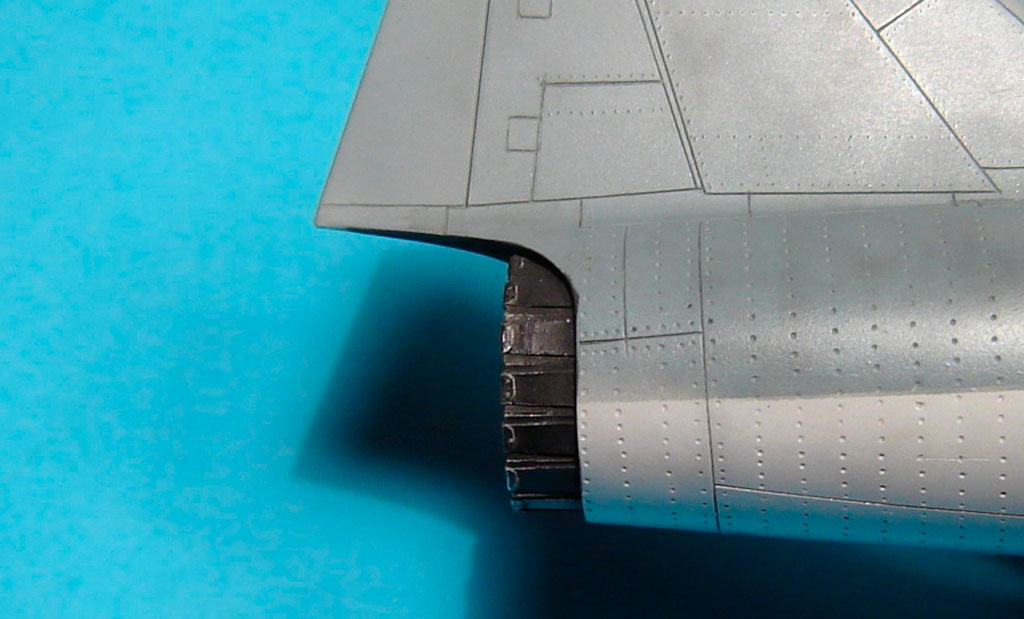
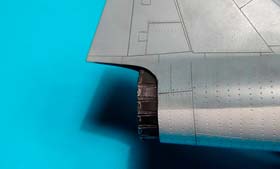
On late Germans F-104, a new type of variable exhaust was installed (with larger "petals").
This one is an Aires exhaust for F-4 PhantomII, it looks good for my little starfighter.
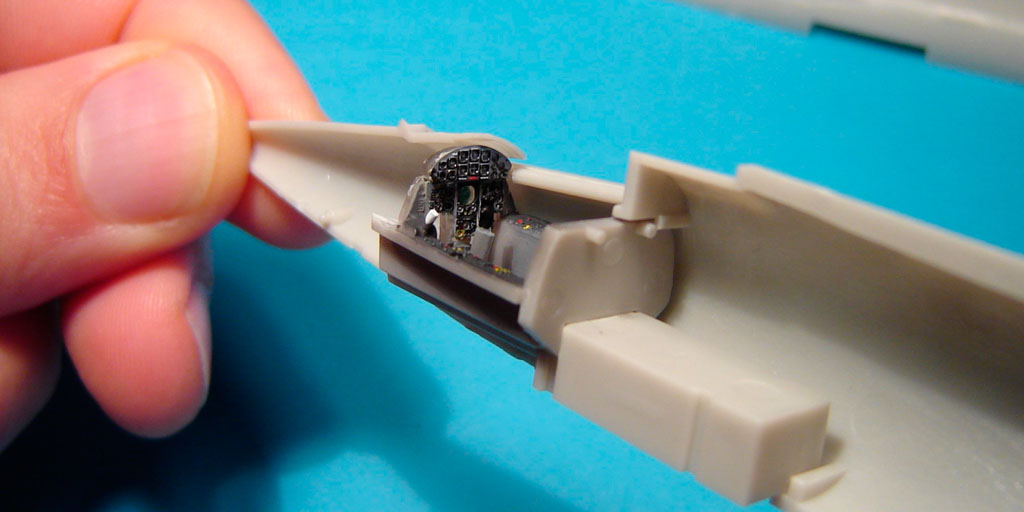
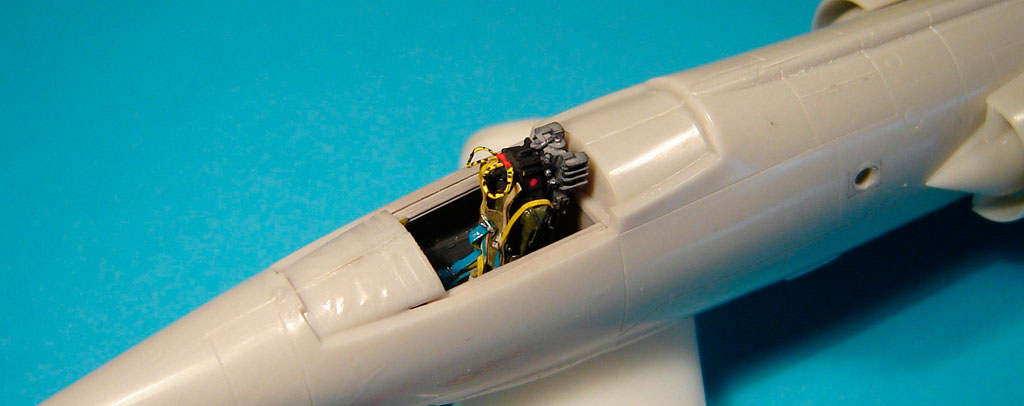
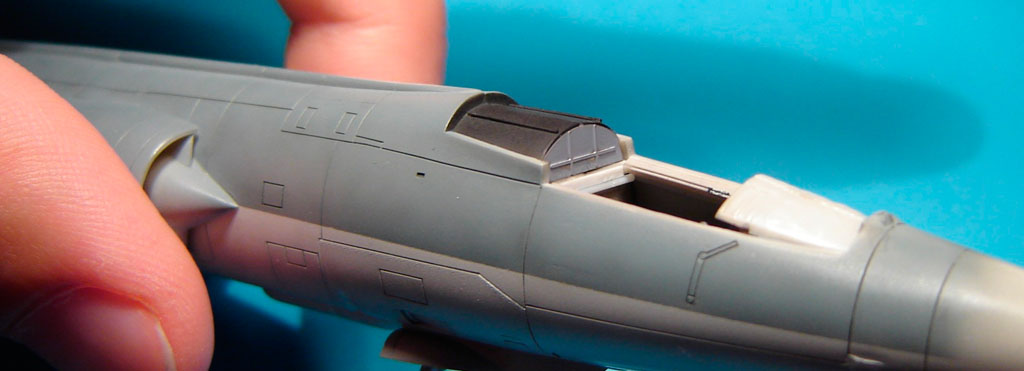
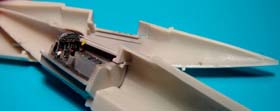
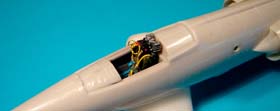
The cockpit

The cockpit of Hasegawa is rather well detailed OOB in this kit. Pilot's side control panels in relief,
I painted e few touch of Humbrol colors. I used the Eduard main instrument panel.

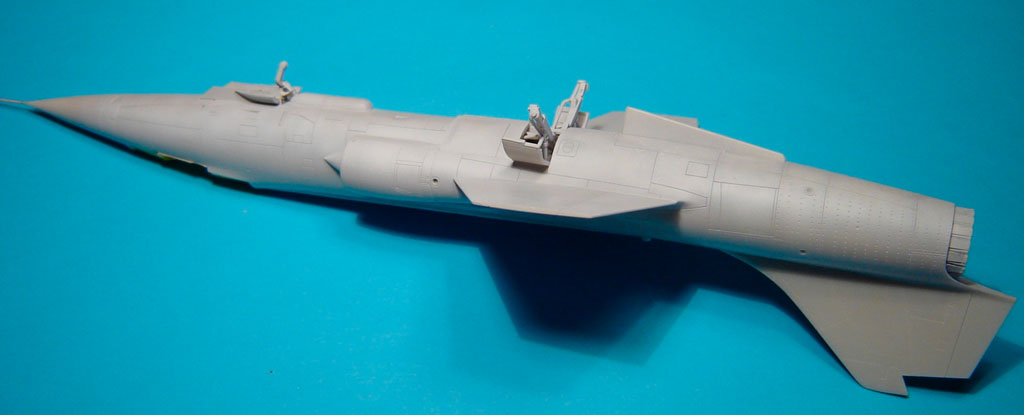
In this step you must pay attention in anticipation of good height of the seat, because in the Starfighter the top of the seat comes near the canopy when closed.
The instrument panel has received the last points of colors

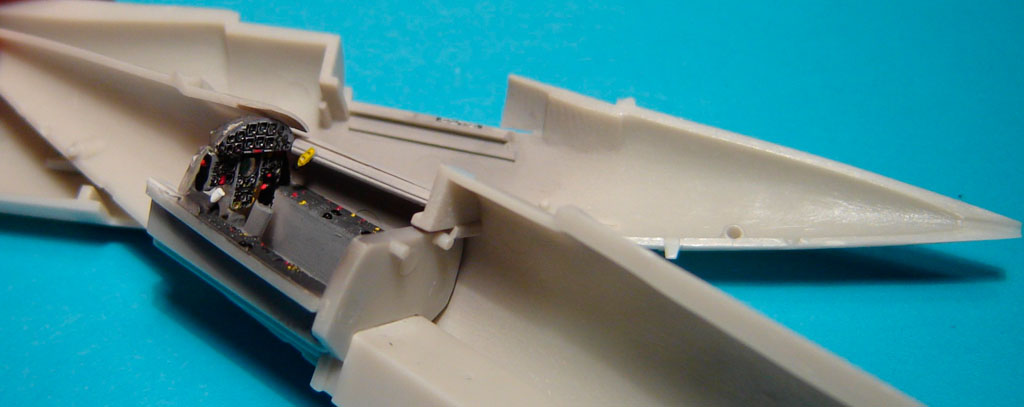
Tamiya XF-19 paint inside the fuselage, I add the canopy locking lever.
I think the fuselage is now ready to be assembled
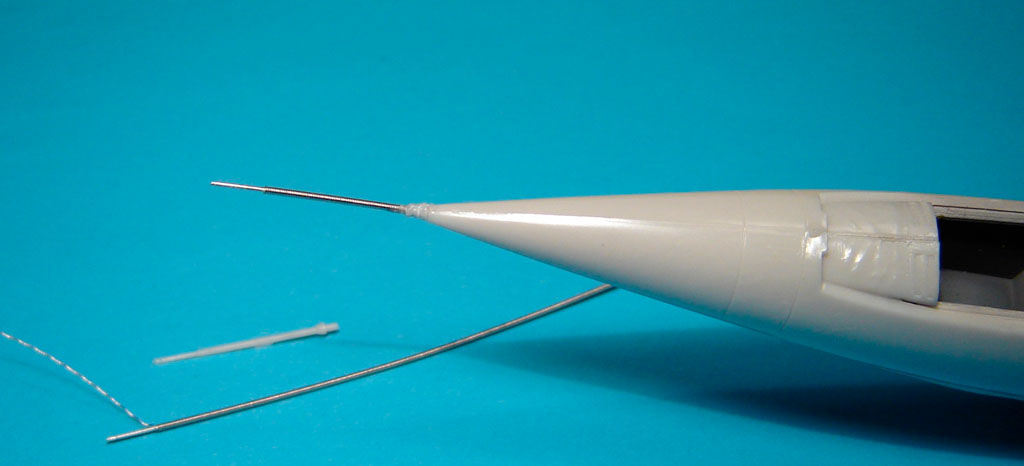
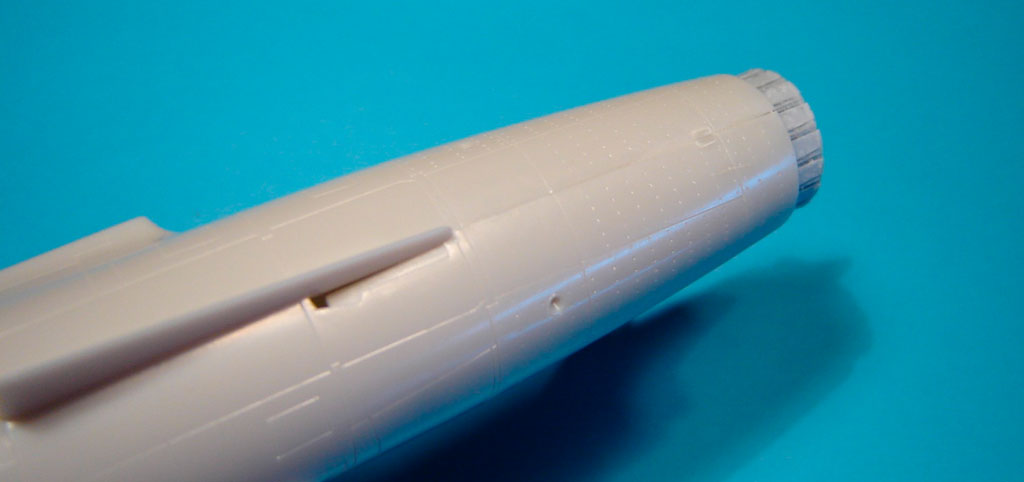
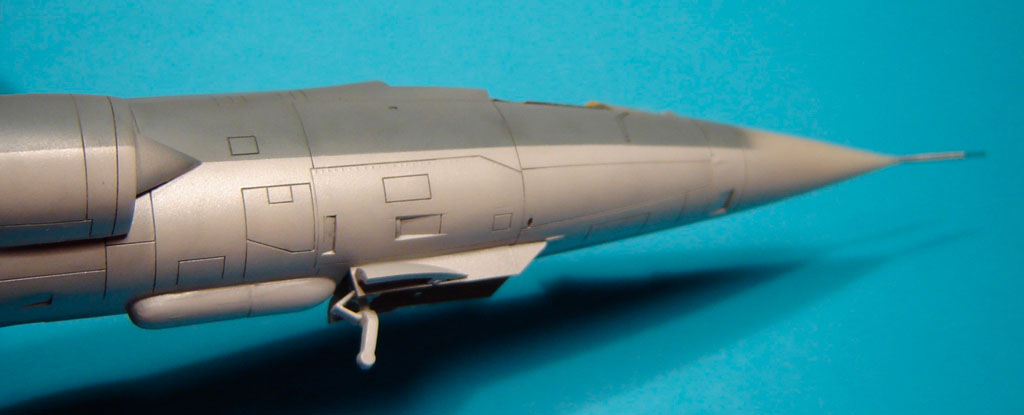
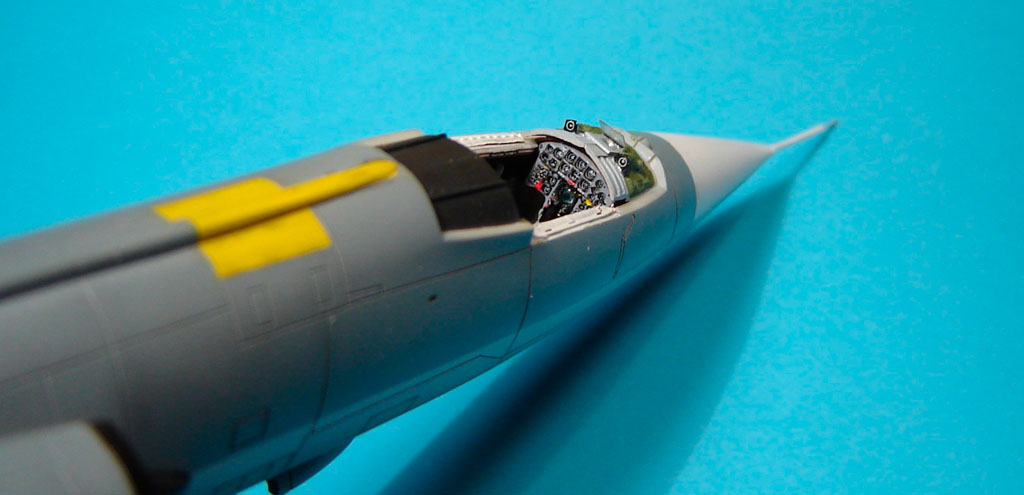
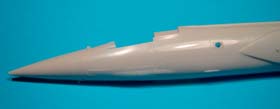
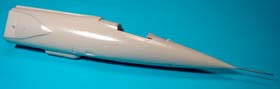
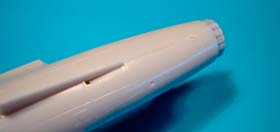
Pitot tube

The Hasegawa tube is replaced by a nickelsteel electric guitar string (D).
Junction with radome is made from melted plastic (by Tamiya "green glue"). (photo before sanding)
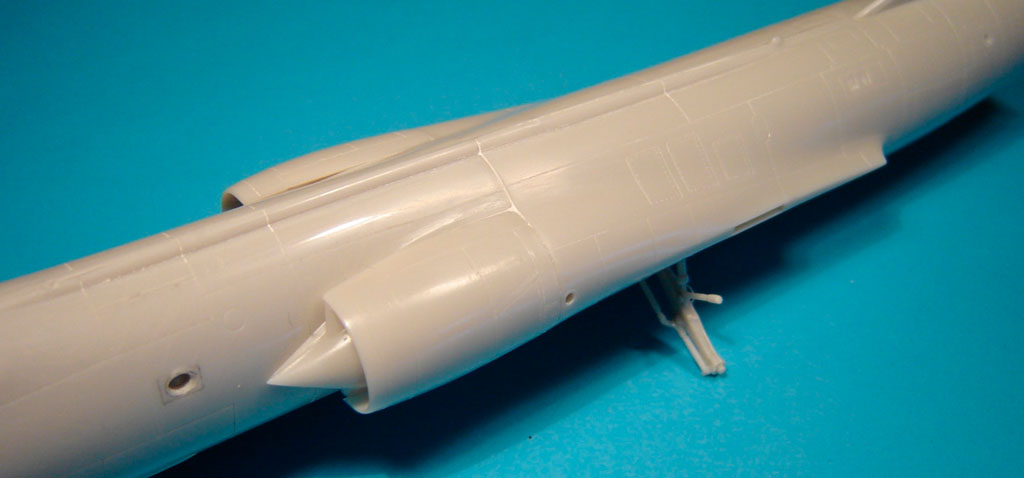
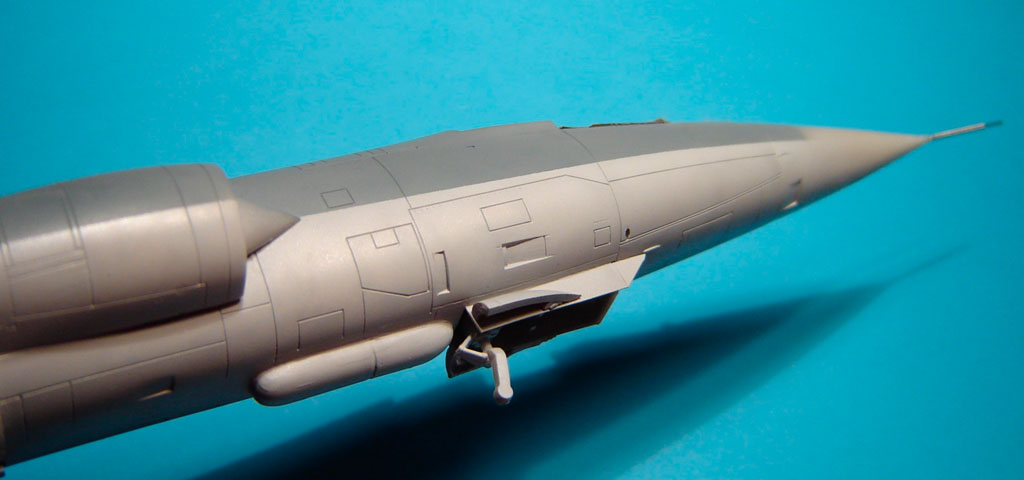
The Camera System
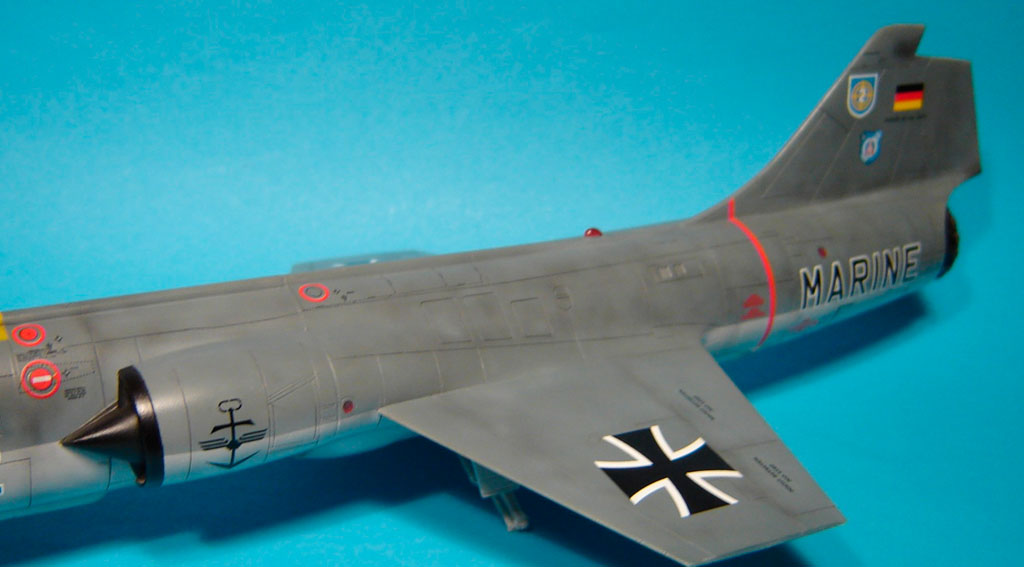
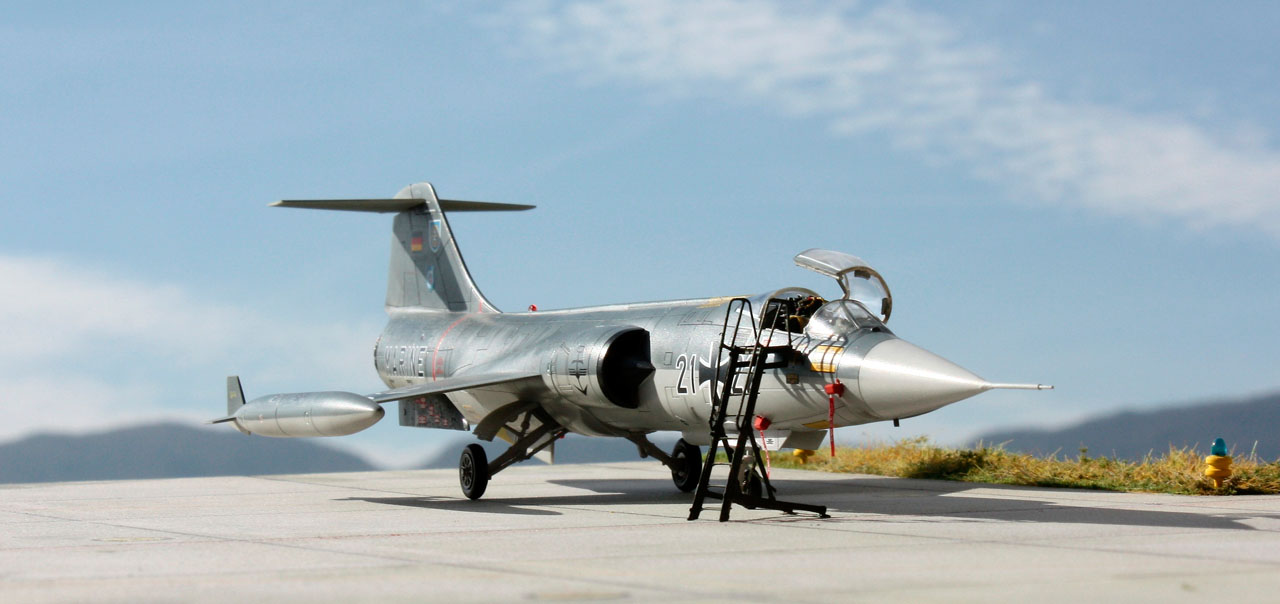
The Starfighter found favour among Marineflieger as a short-range reconnaissance platform.
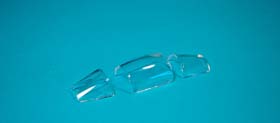
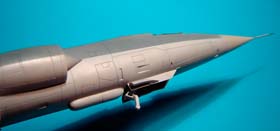
Downward-looking cameras (three KS-67A) or infra-red linescan are mounted in a bump behind the nosewheel.
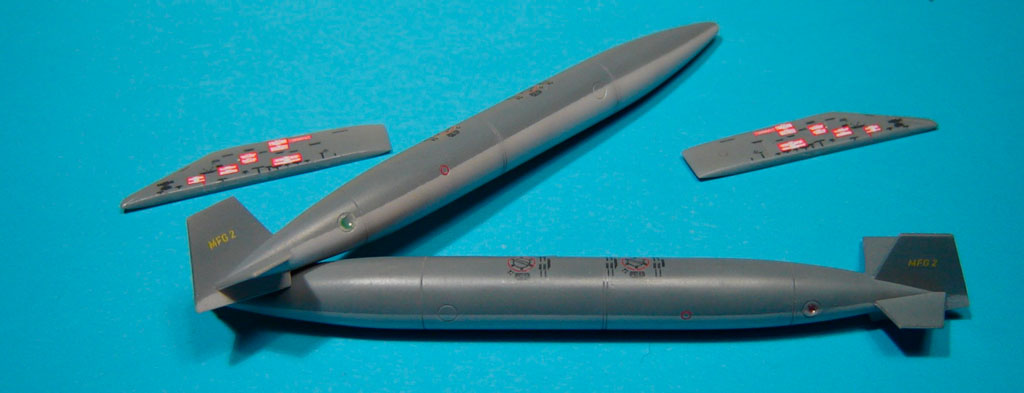
I did it with two sections of missiles.
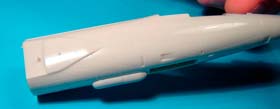
We can't see the camera windows caus'of screens which are sliding away in flight.
Cameras are operated by the pilot through the gun trigger.
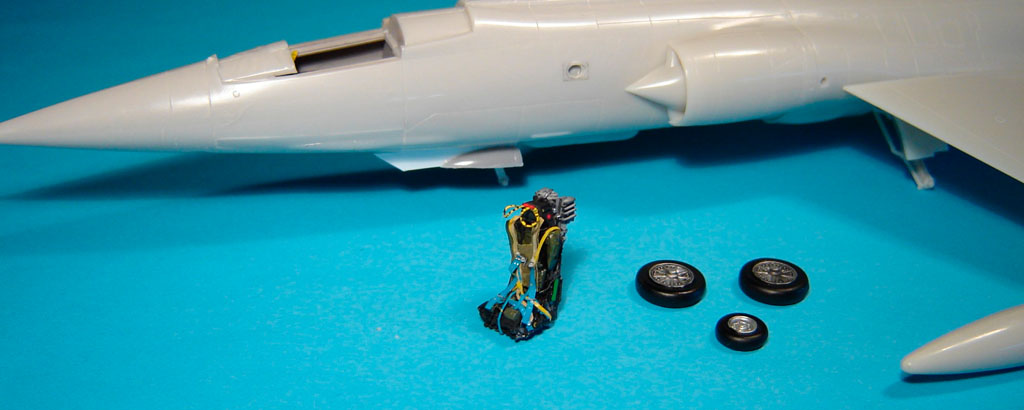
The Martin Baker-7Q ejection seat
The Hasegawa seat is replaced by a resin one from Verlinden model. The face blind seat firing is added.
Then, applying Black XF-1 Tamiya on the seat and Gray XF-19 on the seat rail support and Humbrol Olive green.
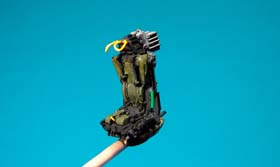
As the real seat is full of accessories, with a very complicated harness system, I try to enrich my seat with strips of Tamiya masking.
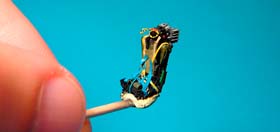
The close-up shot is so cruel ... seeing it, I don't like some details, but a human scale is more acceptable !
One more photo for a test with the seat in position
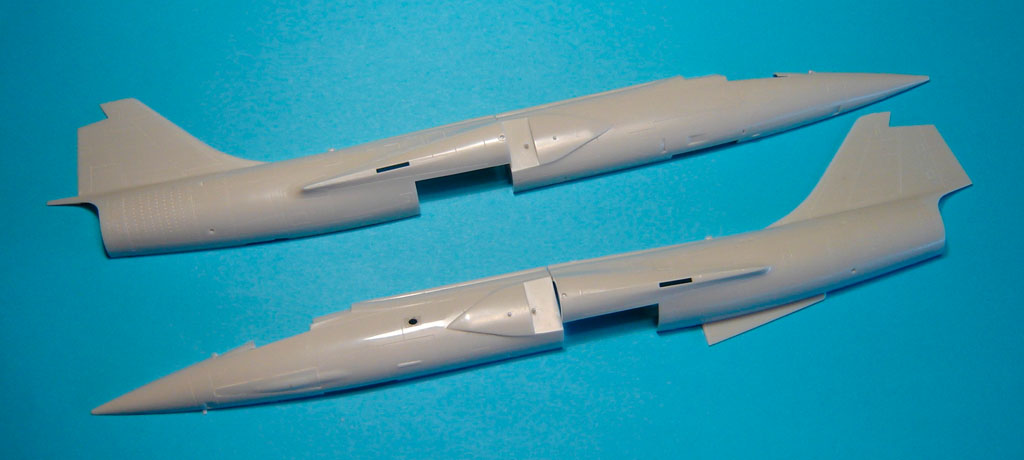
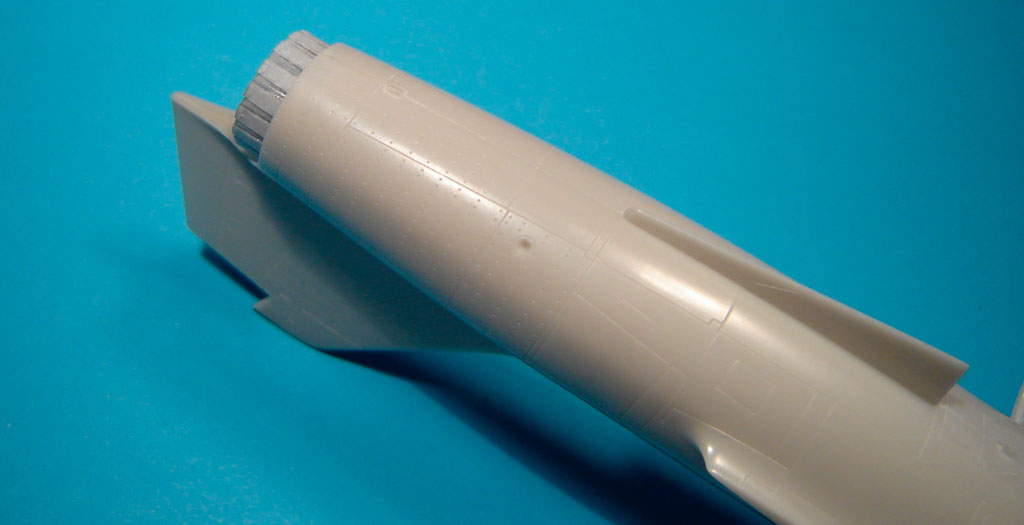
Fuselage
Assembly is delicate in this Hasegawa kit for /forward fuselage/rear fuselage/Air intakes/ but all can be OK without putty or surfacer. Just a soft sanding.
 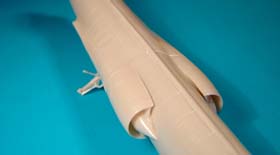
The landing gear hatch is almost OOB.

The area under the back fuselage is rather difficult to adjust, especially because of the fineness of the plastic there.
There is no secret ... the Hasegawa mold aging badly ...the best solution is to get an old Hasegawa box, as first editions of this model offer really better quality of assembly.
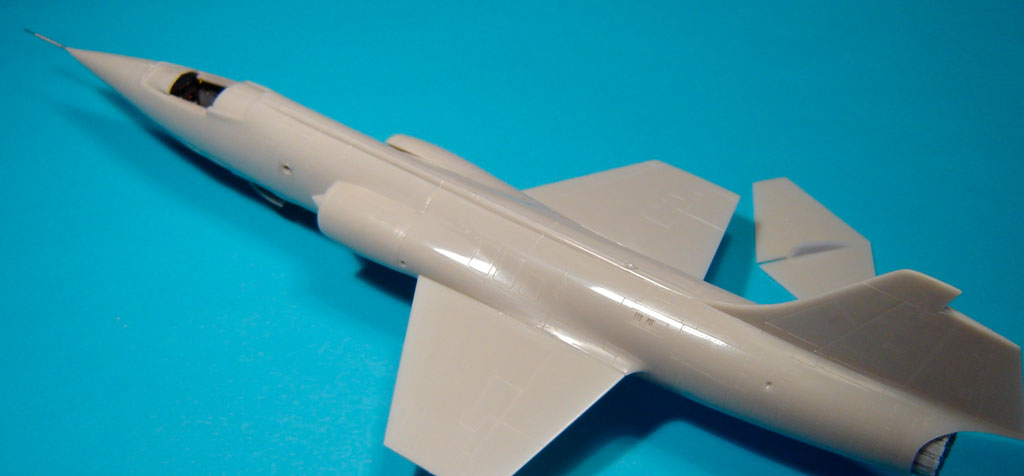
This is the result I could obtain without "special" treatment:
 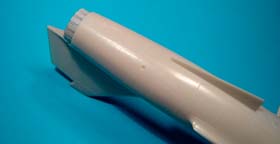
Nosewheel doors and main undercarriage doors, are now in position
The nosewheel door was cut in an evergreen sheet styren, because the Hasegawa one is too thick.
The Fairing on this door was made from a piece of missile (protection for the Recco system in the bump).
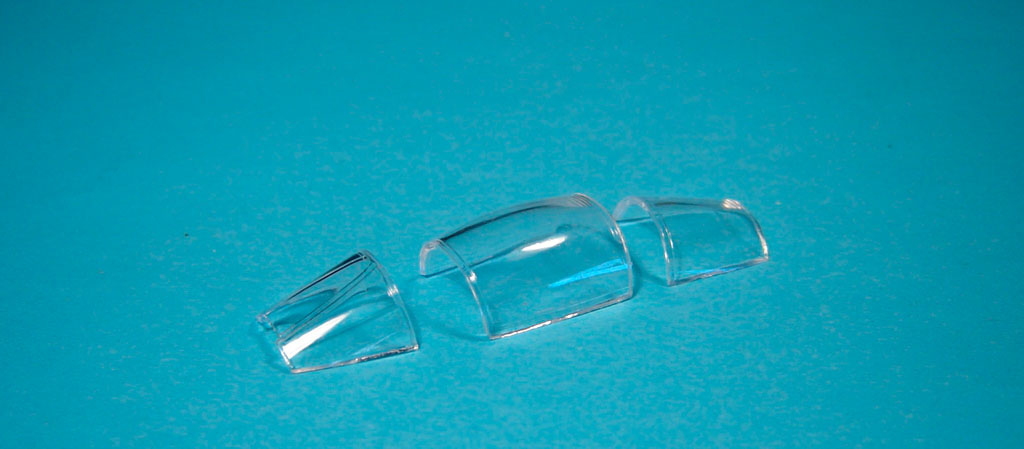
Cockpit glasing is prepared with a bath of Future to provide better brightness and a better resistance
Preparation for painting
For a very fine painting, my model is prepared all over with micromesh 4000 then 6000 then 8000 then 12000, until the surface is very brilliant.
 
The residue of sanding is cleaned with alcohol. My little One O Four is now ready for the step I prefer : Painting !

The choice of paint for the underside of Marine/Luftwaffe Starfighters is always a Dilema ...
The Official RAL 9006 is a white aluminium (dull).
For the model kit, some prefer the gray, the other aluminum ...
To myself, a gray paint looks better for 1/72.
I tried several Aluminium (several Alclad...) but I always find it too "flashy".
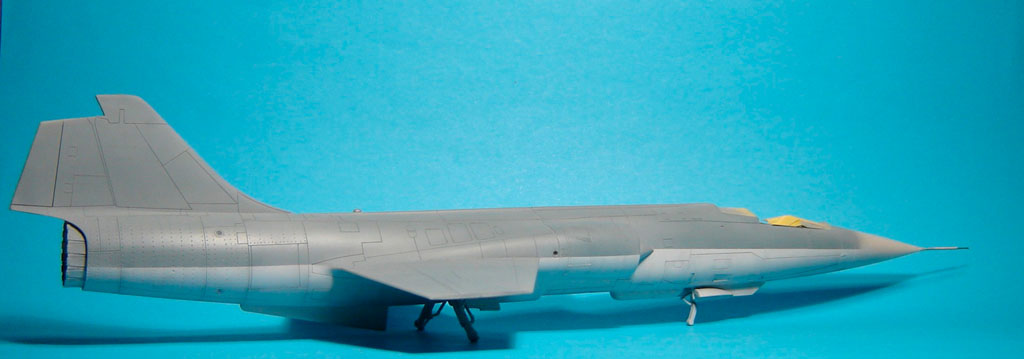
Reffering to photos of the eighties (for the version I want to do) I chose Tamiya XF19 + White X-1.
 
it is difficult to judge with my shots, let's wait for the gray on the upper surfaces to understand what I mean.
Then I added a very light coat of paint Tamiya XF-32 (Titanium silver) + X-1 White for a light metal effect, so that we can't see the pigments.
I started a light weathering with Gunze H-307.
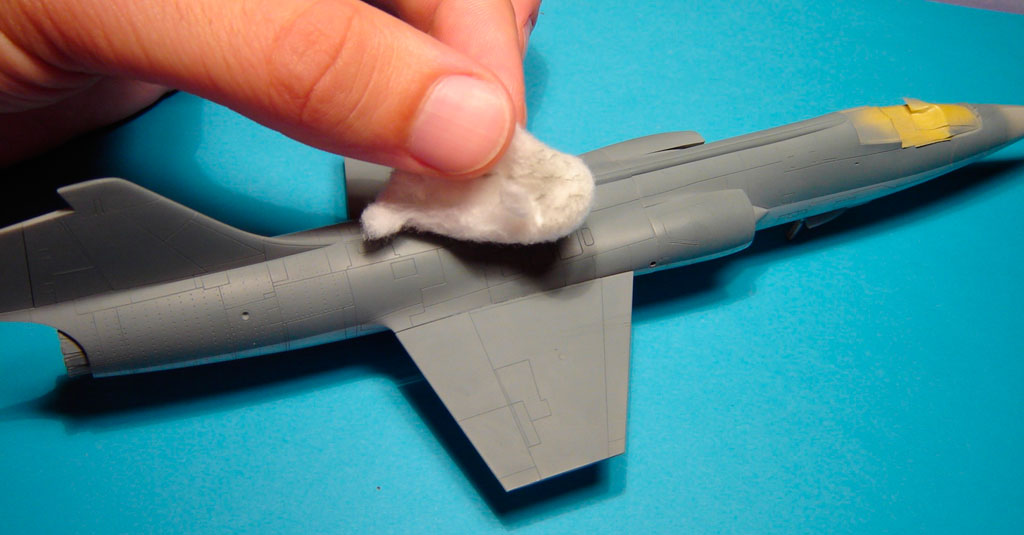
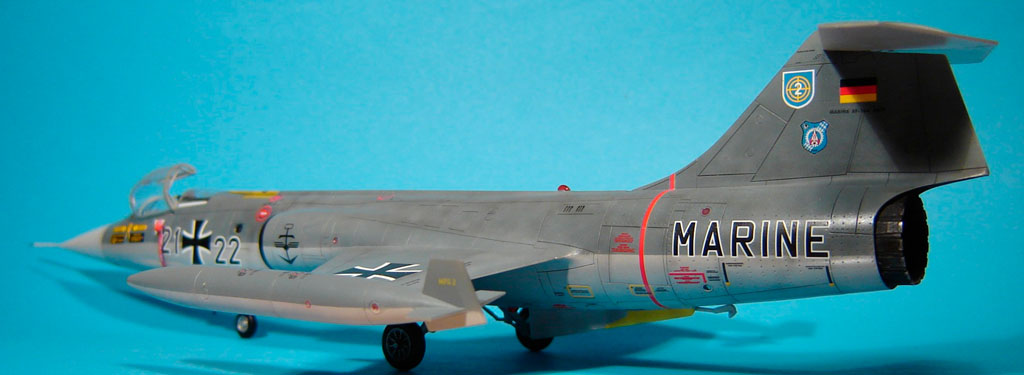
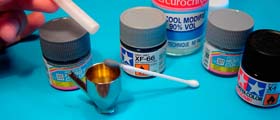
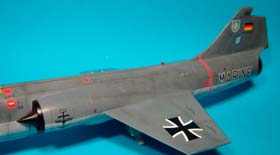
Now for upper surfaces grey (RAL7012) I used Tamiya XF-66 with a touch of Gunze H-307.
The paint is polished with a piece of cotton, first step of a long work on surfaces.
until the surface is soft to the touch.
My choice is a solution among many others, I do not hold the truth ! but, I must confess that I like making my own mixes.
Next step will be:
- some adjustments of the delimitation light/darker grey,
- and as I don't do "pre-shading", the "post paint work" for weathering.
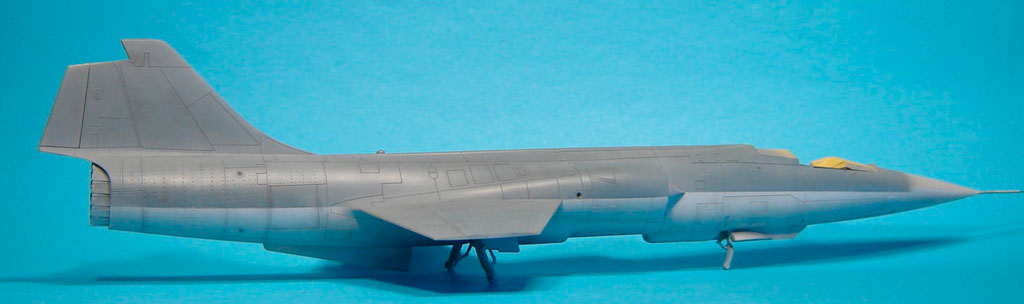
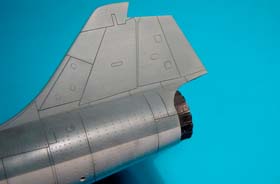
The weathering work slowly progress
... with variations of grays with the XF-66 base. Paint is still very diluted to obtain light shades on the fuselage.
I insist : this work is progressive, and will be repeated several times until the end of the model kit.
This requires observing photos, and hope to be inspired.
I insist : this work is progressive, and will be repeated several times until the end of the model kit.
This requires observing photos, and hope to be inspired.

... and it goes on, after "enamel bath" in the recessed panel lines.

I focused again on the light gray, so that it approximates the "Official" RAL 9006, always using a light touch of Tamiya XF-32 mixed with white X-2
Other Details
The exhaust is painted with Alclad2 White Aluminium, then with Tamiya Black XF-1.
Then the black is polished.
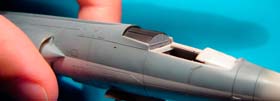
I start to work on the avionics compartment shroud cover, behind the seat (with the help of Eduard for the gray part)
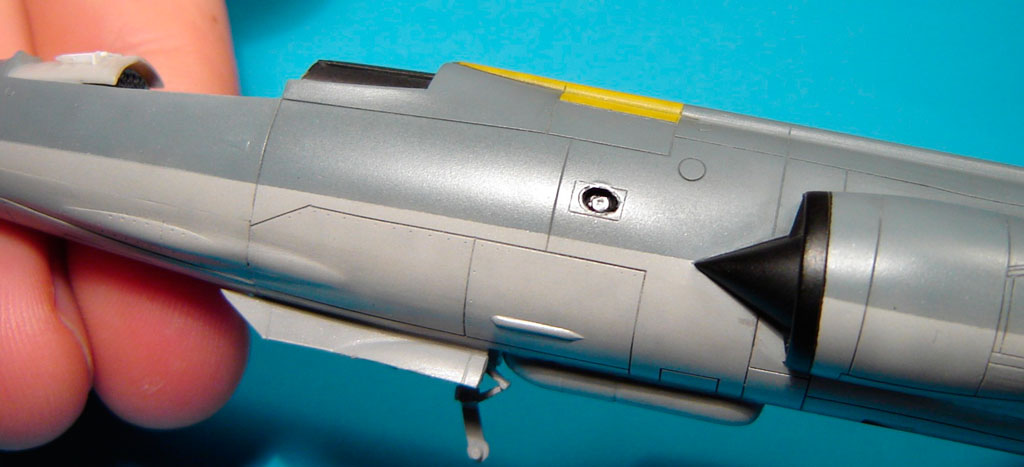
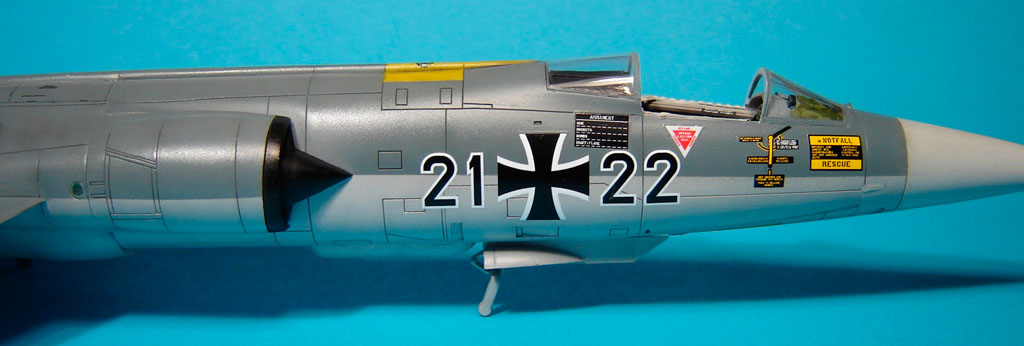
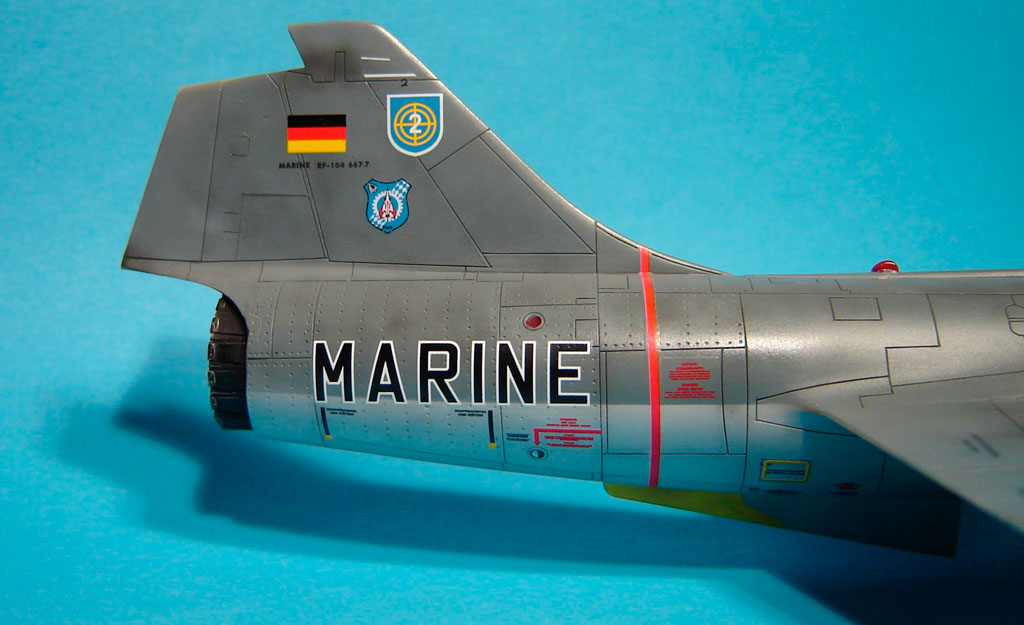
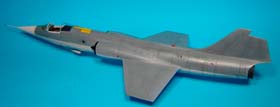
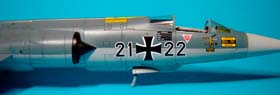
The access door to the amunition magazine, and the front of dorsal spine (IFF aerial) are painted with (Tamiya X-8 yellow mixed with XF-59 desert yellow)
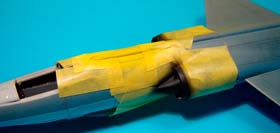
The radome is painted in white mixed with a few gray.
You can note there's no anti-glare panel on Marine's F-104G.

More details
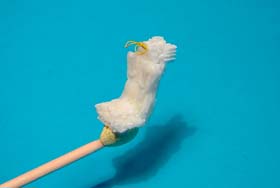
I put the camera type KS-87B situated in the left side of the fuselage.

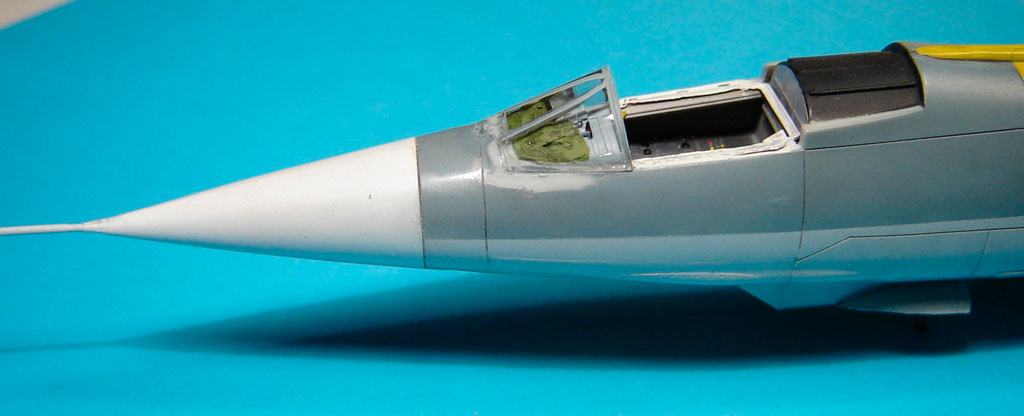
Now I progress slowly under the windscreen with a few scratchbuilt for standbye compass and automatic pitch control indicator.

Then white glue for the window.
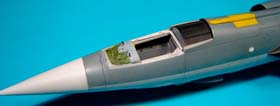 
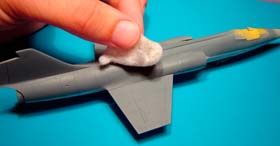
I made the green protection with "a paper handkerchief"+white glue+water, then paint it with Humbrol.
You can see the Verlinden etched part for cockpit edges, here painted gray.
Now I try to make a perfect junction between the fuselage and the windscreen.
After using cyanoacrylate I'm using white glue then a soft sanding. And then micromesh 4000, 6000, 8000 ...

It's a delicate work ... but to myself a serious lead to increase the quality of a model.
By the past when I had problems with the paint, or didn't enjoy my result, I used to
remove paint all over the kit with alcohol, without damaging the clear parts fixed or damage my work near the cockpit.
Now I keep this habit to keep fine the clear parts until near the end of the model, it prevent the clear parts from any damages during the built and several manipulations.
I know it seems that I loose time and working again on the junction, but I see better how to do it when the fuselage is painted.
I think the clear part is the key for a great model, and I still searching the best way to do it ...
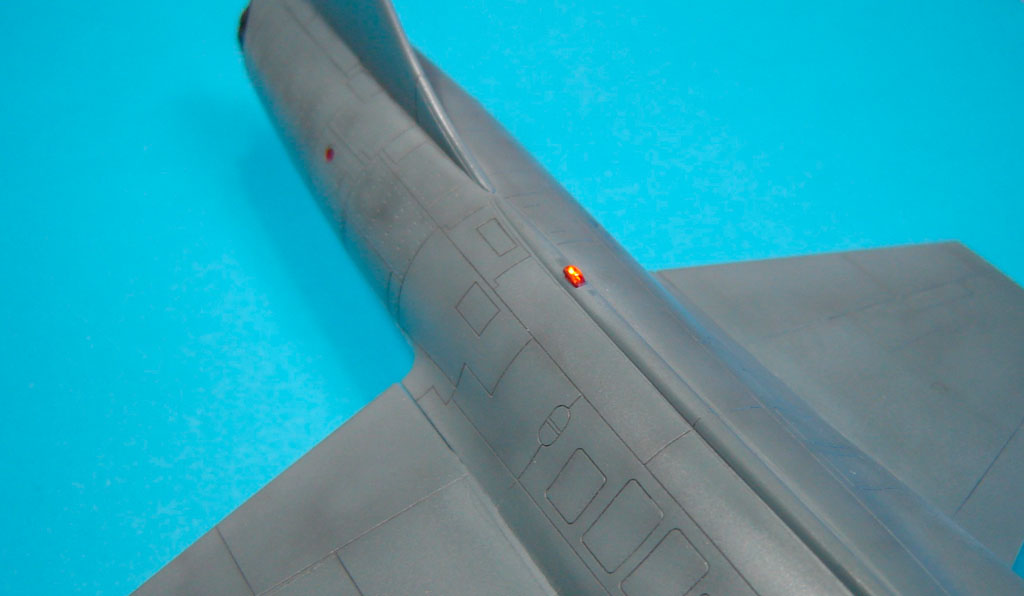
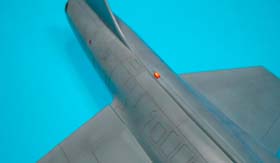
Dorsal navigation light is made with clear sprue.
Others are made with Tamiya X-27 "clear red" then a drop of white glue.
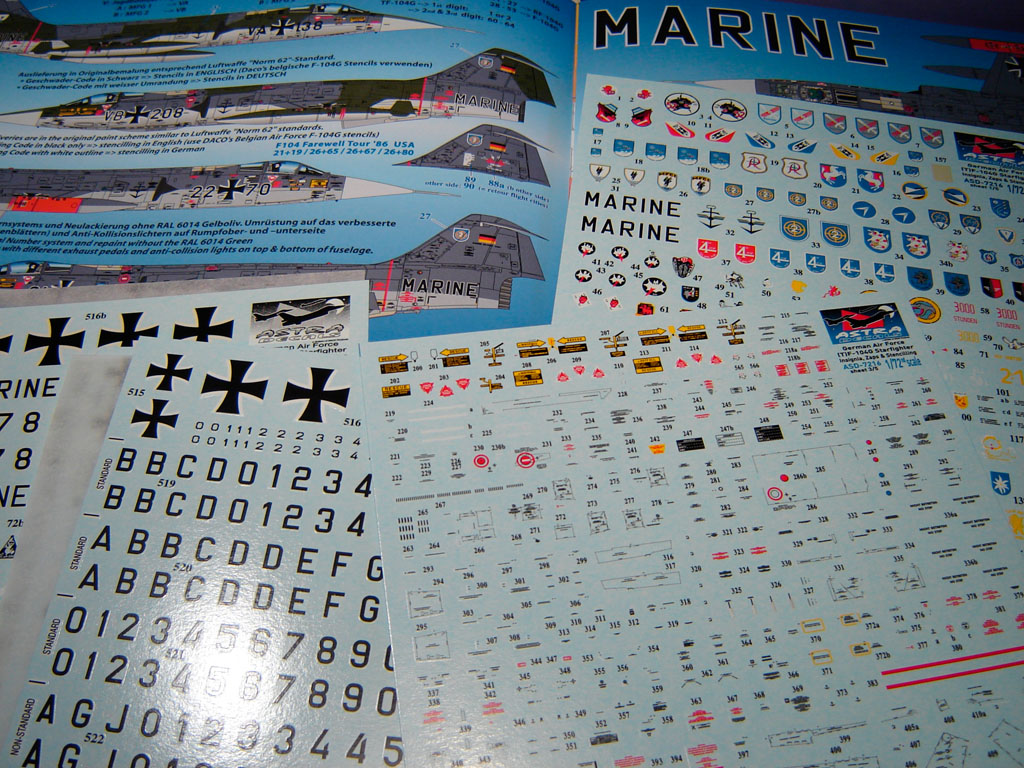
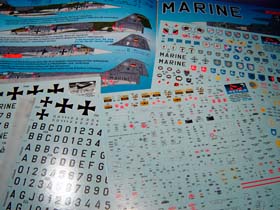
The Decals
I already made other German 104G but I could not fail to produce a new one here with the great Daco/Astra decals !
This decal sheet is so beautiful, with all the stencils and all German versions you always dreamed.
The model chosen, a late Starfighter near 1986, will have just a few stencils, perhaps caus' of the weathering, touch up paints or washing the aircraft...
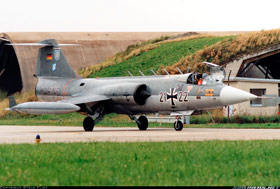
Source AIRLINERS
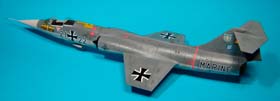
My photos with artificial light is not honest with my paint, hard to see that I worked again on the weathering with grays and also black.
Less light for this shot (results in a blurry picture, sorry) so that you can see the weathering progress :
The Tailplane is ready
I prepared inboard pylon and tip fuel tank.

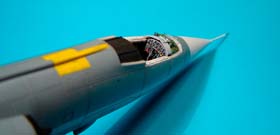
Back in the canopy:
I made the 2 explosive charges for canopy jettison
Red safety pins are from the Eduard set while the "remove before flight" are decals, from Tauro Model decals.
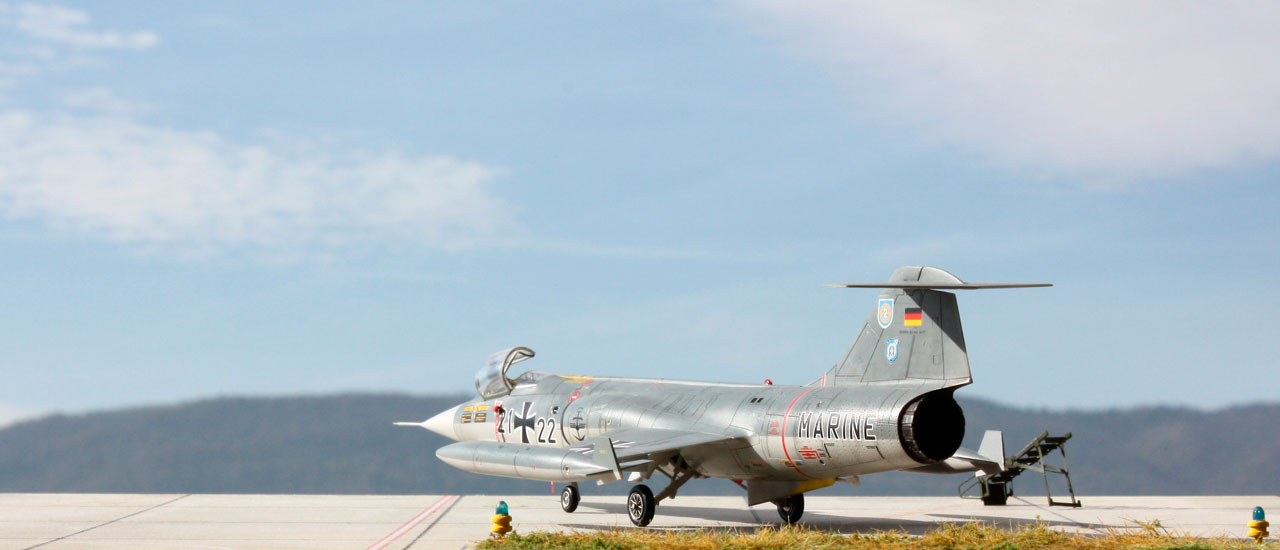
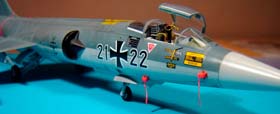
Here is the One-O-Four construction number 683D-6677, built by Fiat around 1965.
Modified to MARINE-Recce version in 1979.
Seen here around 1985 during the conversion to the weapon system Tornado.
This "Kommando F-104" was established at Erding AB, germany.
|