Opening the the box reveals a superb kit ! The box is full of sprue, with 138 parts ! Initialy released in 1988, this is the state of the art modelling at this time. Detailled cockpit, very thin engraved panel line, very nice undercarriage and very detailled exhaust nozzle. Twenty years later, this kit remains the best 72nd scale F-15 Eagle model.
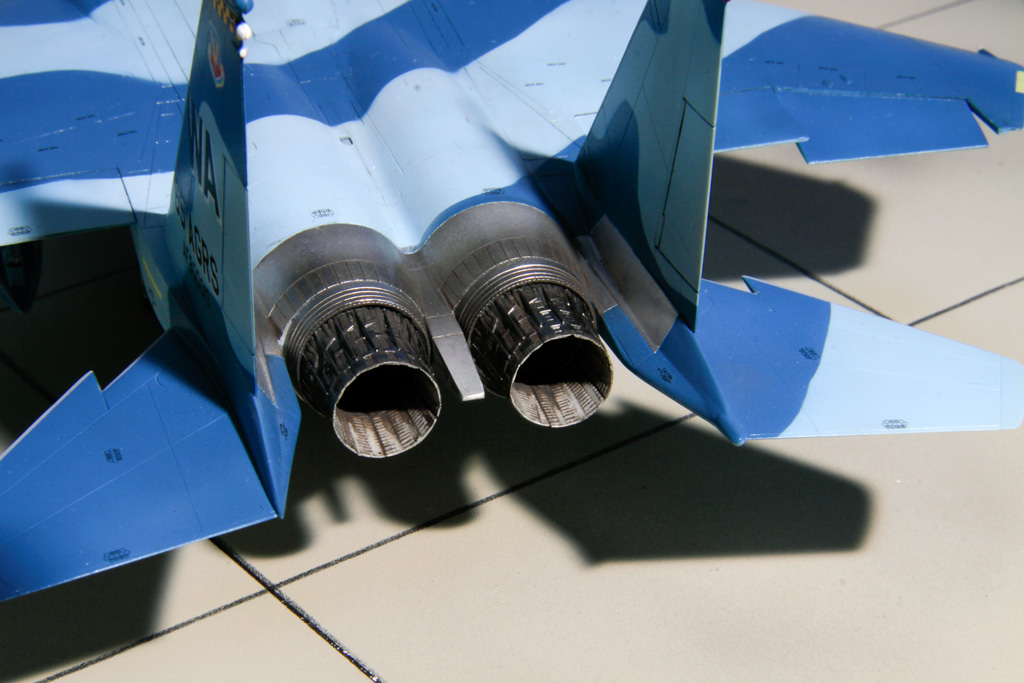
- First I build the burner cans : Exhaust nozzle are very complex, very difficult to build. I used the Tamiya Extra Thin cemet but it takes time...
- Air intake are easy to build
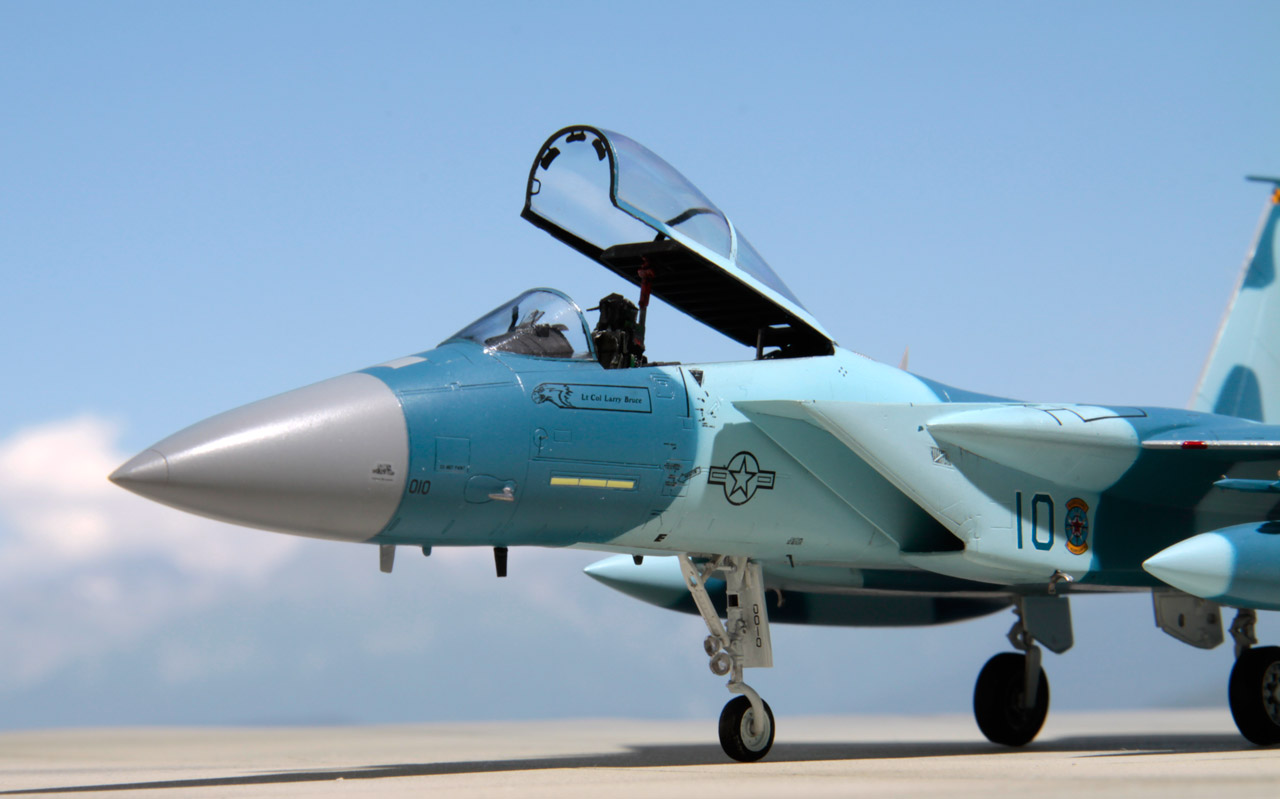
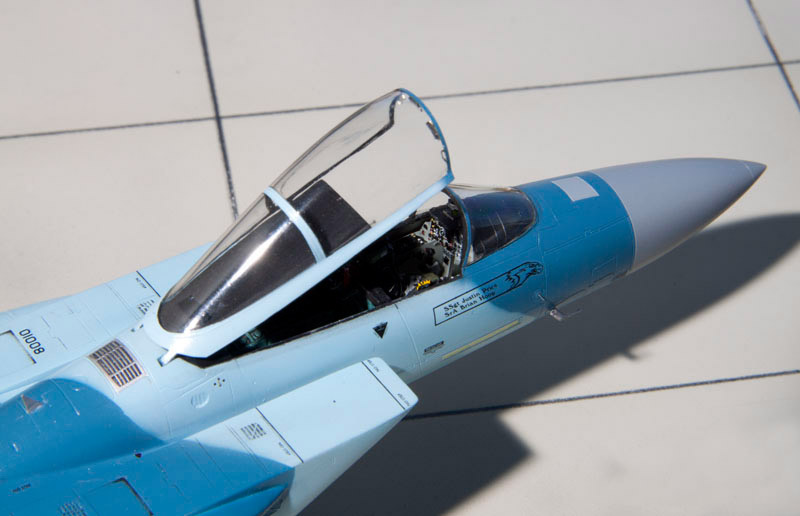
- The cockpit is pretty well detailled, it requires just a fine painting; I just added a quickoost Acess II resin seat. All the interior is painted with airbrush except the very small details.
- Rear fuselage assembly is easy
- The most difficult step is to fit the front fuselage with the rear fuselage. Take your time, make a lot of tests before gluing these two parts. First I glued the bottom using again Tamiya Extra Thin Cemet, I did it slowly, step by step, and I glued to the top.
- Wings are easy to fit with the fuselage but it requires caution; the top of the wing of the left wing doesn't fit very well, a little sanding of the longeron and it's ok !
- Before sanding all the elements glued I accentuated the ungraved line just with a little niddle thanks to that tips it will not necessary to rescribed after sanding.
 |
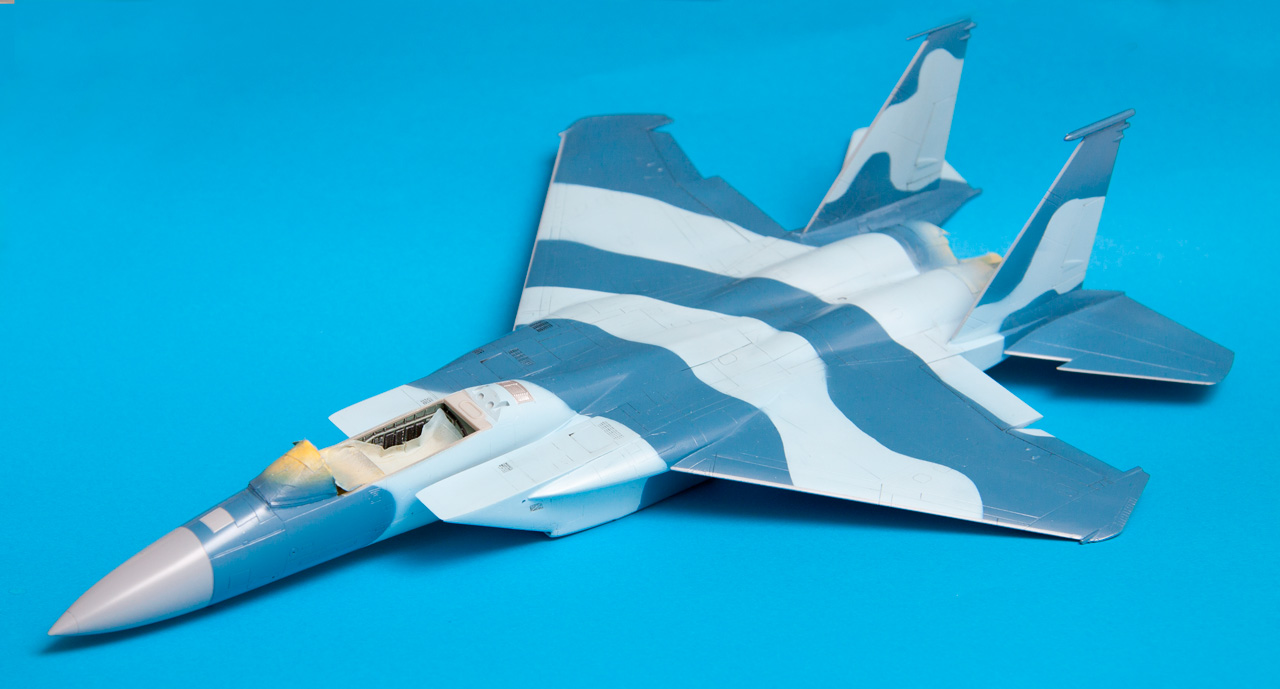
I cut the flaps to drop them like they are usualy seen when the aircrafft is on the ground. I used an X-Acto knife, and many pass with little pressure are applied through the engraved line. |
|
 |
I thought it would be easier to paint metalic aera before the aggressor camouflage. With this method the masking is easier to realise.
Primer was sprayed before Alclad, I used Gunze H-315 heavy thinned with alcohol. After more of 24 hours of drying Alclad was applied. But immediately after the metallic aéra could be masking. This a very good properties of Alcald II |
Before painting :
All glued parts are sanding with water sanding paper 400, 600, 800, 1000, 1500, and 2000. Using a lot of water after this step, Micromesh 4000 and 6000 was used to polished the surface and the plastic became again glossy. It is necessary to proceed like this to prevent scratches which become very visible after airbrush painting.
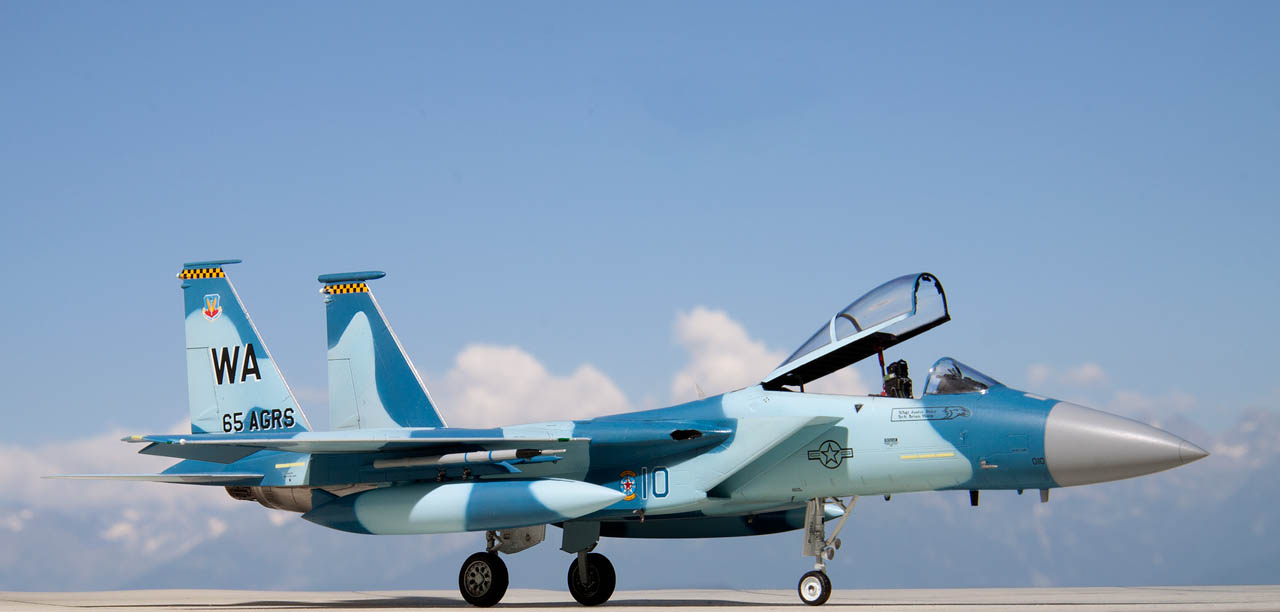
For FS 35450 I make a mix of Gunze paint :
10 drop H308 +
20 drop H323 +
60 drop H11
Dark bleu is very difficult to spray, certainly intensify by the heavy thinned paint I used to pratice. I used airbrush friskette for masking the light bleu.
 |
Aggressor aircraft looked very clean so a soft weathering was applied. I heavy thinned artist oil paint (balck) with with spirit. After several minutes of drying the exceed is removed with a white spirit soused cotton. |
Décals :
I used ref 72-001 Afterburner decals. A superb decal sheet !Stencils are very thin, no decal film around. To protect decal and prevent silvering I sprayed Gunze Clear Cote very thinned as usual for me, and after drying Gunze Matt Cote is applied.
 |
For weathering the burner cans interior I used dry pastel following this method described here |
Finitions :
Clear part took a bath of Klir also known as Future. Rearview mirors come from a Reheat photetched mirror set. Inert AIM-9 and ACMI are provide from Hasegawa Aircraft Weapons : V ref : X72-9
Hasegawa made a very good Eagle kit with some difficulties, but it's a very pleasant model to build and with this color what a look in your showcase ! |


)